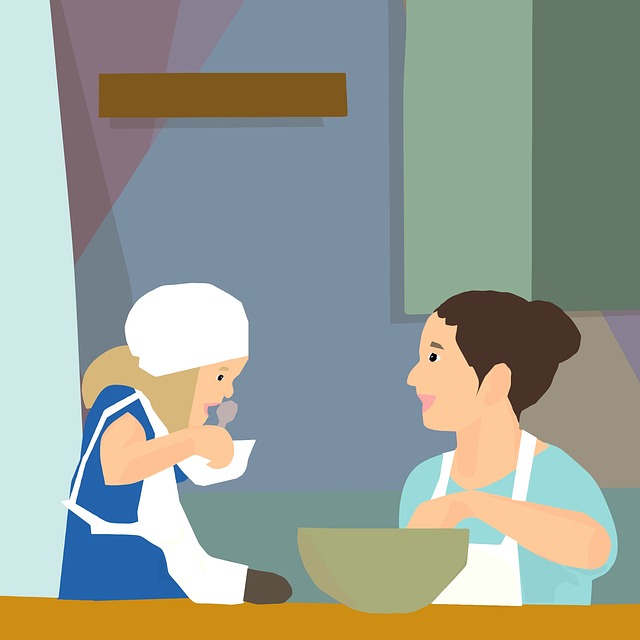
Kids always have room for dessert, right? Too full for broccoli but never too full for dessert! Don’t put yourself out making fancy and complicated sweets for your kids; make them do it! If they want the sweet stuff, they will be more than willing to help in the kitchen. At least will be when dessert is on the line! These are tried and true treats that kids love to eat and, with some practice, love to make. As always, we recommend full adult supervision anytime kids are in the kitchen – cooking or otherwise!
Sugar Cookies for Santa
Baking is fun, but decorating is even more fun! Have your little one pick out fun and seasonal cookie cutter shapes and decide on the frosting colors.For cookies:
¾ Cup flour
1 teaspoon baking soda
½ teaspoon baking powder
1 cup butter, softened
1 ½ cups sugar
1 egg
1 teaspoon vanilla extract
For frosting:
1 cup powdered sugar
2/3 tablespoons milk
1 teaspoon vanilla or almond extract
1 tablespoon corn syrup
Preheat oven to 375. In a small bowl, mix the flour, baking soda and baking powder. In a different larger bowl mix the butter and sugar together until smooth. Beat in the egg and vanilla and then gradually stir in the bowl of dry ingredients. Roll dough into 1 inch balls and place onto cookie sheet lined with parchment paper. Bake 8-10 min or until golden. Let stand on cookie sheet to cool before removing and icing.While the cookies bake combine the powdered sugar, corn syrup, and milk in a bowl and whisk until smooth. If it is a little too runny add more sugar, if it is a little too thick add more milk. If you are planning on doing different colors, separate the icing into different smaller bowls and whisk in the food coloring. A little food coloring goes a long way so only add 1-2 drops if you want lighter colors. Once your cookies are fully cool you can get to decorating! Don’t hold back either: get out the sprinkles and colored sugar and really go crazy on these cookies for Santa!
Extra Fluffy Rice Krispie Treats
Fluffy marshmallows and crispy rice make a perfect combination. Rice Krispies are a classic treat that will put a smile on anyone’s face. This recipe uses the microwave instead of the stovetop, so it is a perfect starter recipe for smaller children who don’t have a lot of experience in the kitchen.
3 tablespoons butter
1 package mini marshmallows
4 cups Rice Krispies cereal
First things first get out a 13x9 pan and coat with cooking spray. Set this aside. Get out a medium microwave-safe bowl and pass to your kid so they can dump in the butter and most of the marshmallows. Set the remaining marshmallows aside. Cook on HIGH for 2 minutes, then stir. Cook for 1 more minute and then stir until smooth. Add in rice crispy cereal and stir until well coated with the marshmallow and butter mixture. Now add in the marshmallows you set aside earlier and stir them in. This is what makes these treats extra fluffy! Use a spatula coated in cooking spray to press mixture into prepared pan. Try to spread it evenly so your treats will all be the same thickness. Let them cool and then cut into squares. Ready to eat!
Oreo Balls
Kid love this recipe because you get to smash a lot of Oreos, turn them into balls, and dip things in chocolate. No baking involved!
40 Oreo Cookies
1 8 oz Package of Cream Cheese
2 cups of Semi Sweet Chocolate chips
First place your 40 Oreos in a big ziplock bag and pass that on to your kids to crush. They can use their hands, but the back of a small saucepan or a kitchen spoon may be easier for little hands. While they are making Oreo crumbs, pull out the cream cheese and let it soften up a little. Once the Oreos are thoroughly crumbled mix the crumbs with the softened cream cheese in a large bowl. Your child will probably want to stir, so just make sure the ingredients are fully blended or they will not stick together as easily. Once blended start shaping the mixture into 1 inch balls. Place them on a wax lined baking sheet. Once all your balls are made freeze them for 10 minutes.While your Oreo balls are freezing melt the chocolate chips in a double boiler. No double boiler you say?? Just fill a small saucepan halfway with water and place a metal bowl filled with the chocolate chips on top. The heat from the boiling water will melt the chocolate chips. Don’t walk away and keep stirring because they melt fast! When the chocolate has melted, set it aside and get the Oreo balls from the freezer.One by one dip the Oreo balls into chocolate and place back onto the baking sheet. Keep some towels on hand cause this is going to get fun and messy. Once you have coated them all in chocolate keep them in the fridge for about 1 hour or until firm. Then they are ready to gobble up and enjoy!
Dirt and Worms
I don’t know of anyone, no matter their age, who doesn’t enjoy eating dirt and worms. This dessert is almost as much fun to make as it is to eat.
2 cups of milk
1 package of gummy worms
1 package instant chocolate pudding
12 chocolate cream filled cookies
Get out a 9x13 baking dish, set aside. Put the cookies into a ziplock bag and crush into crumbs using a rolling pin. Set aside. In a separate bowl whisk the pudding mix and milk together following the pudding instructions. Sprinkle about the 1/3 of the crushed cookies into the bottom of the pan and a handful of gummy worms. Pour the rest of the chocolate pudding over these crumbs and then spoon the rest of the crumbs on top of the pudding so it looks like dirt. Poke the rest of the gummy worms